Gear Hardness and Hardness Testing
Gears are designed to operate under several known circumstances and from those circumstances designers can understand how strong a gear must be to operate properly. During the manufacture of different gears, the gear or gear blank cannot be cut in its final hardness due to machine or cost efficiency constraints. Because of these constraints, many components will go through various heat treatment processes during their manufacture.
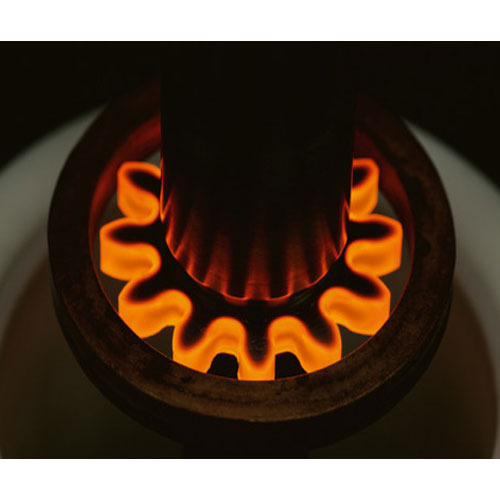
As covered in a previous blog post, heat treatment is a process by which the properties of a component can be enhanced to meet requirements for the application of a component. Heat treatment is a process where a workpiece is heated to a certain temperature and then cooled by various methods such as dunking in oil or letting it cool in a temperature controlled environment. The various cooling methods determine the structure of In general the outside of a gear will cool faster than the hardness of a workpiece can be graduated toward the center of the gear. This fact can lead to distortion of the gear teeth, which for certain applications would be allowable but for precision applications the quality level that is necessary doesn’t allow for this distortion. In which case, the gear teeth must then be cut after any gear hardening processes. Cutting a gear hard isn’t a challenge for traditional gear cutting processes, i.e. hobbing and shaping. Gear teeth can be cut into a component up to 45 HRc. If cutting a full hard gear tooth, carbide cutting tools either a hob or shaper will be used to ensure that the lead time is not extremely long due to cut time and tool replacement. Another method that can be used with extremely hard material in conjugation with higher tolerances is one in which the gear teeth would have a preliminary cut, be hardened and then that finishing cut or grind. This method can help to combat distortion or higher finish tolerances while still being cost effective and shorten the lead time versus cutting the entire teeth full hard.
For determining the hardness of the material of a gear, an either diamond shape or balled indenter it pressed into a workpiece with a specific pressure and the depth of the indention determine the hardness of the material of the workpiece. This testing method is named the Brinell Hardness Test. This testing can ensure that the processing of a workpiece was successful and the gear is cut from the correct material. For thinner or more easily damaged surfaces, a Rockwell test with a lighter pressure can also be used in order to maintain the integrity of the finish. There are other hardness tests that are generally to be used in specialized applications especially for thin or brittle materials.


